CHANGING COM PORT
This section will give a detailed text and pictorial description of the process of changing the COM Port for the DAQ card. The CROP software has been coded in such a way that the DAQ card works best when it is assigned to COM Port Number 1.Always ensure that the DAQ card is assigned to COM Port 1 before running the scans in the CROP software.
Follow the steps listed below to change the DAQ card COM port.
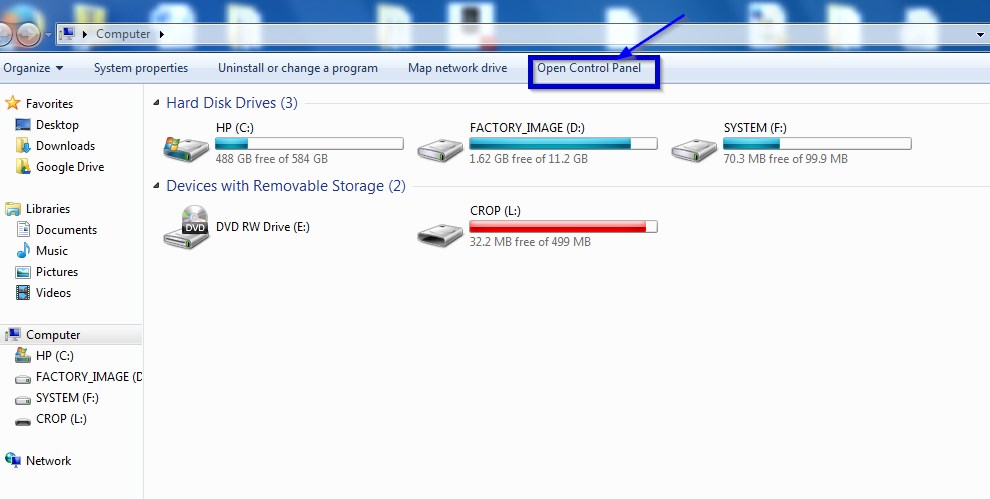
Step 1Click on 'My Computer' and 'Open Control Panel'.
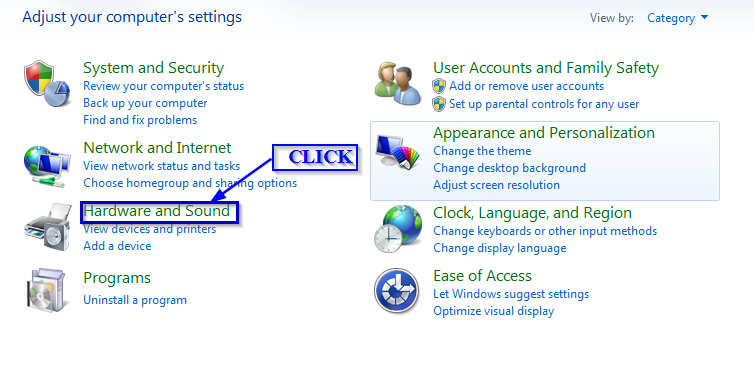
Click on 'Hardware and Sound' menu in the Control Panel Dialog Box.
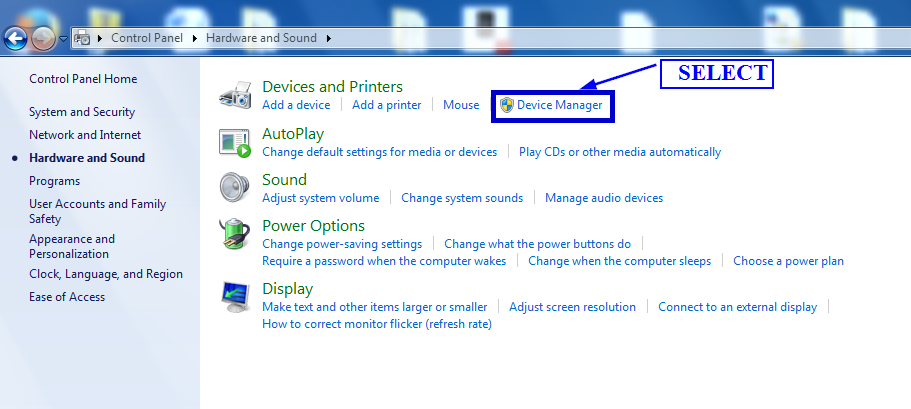
Select 'Device Manager' and open it.
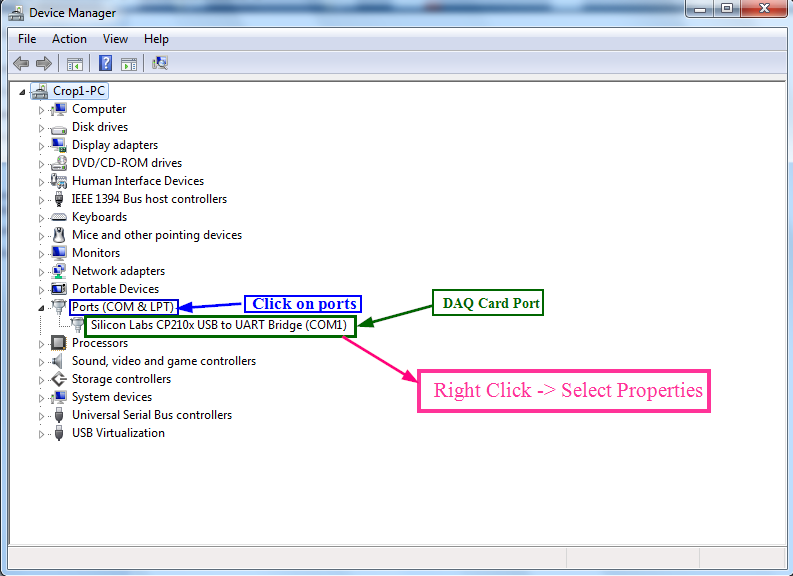
In the 'Device Manager' window click on the arrow next to "Ports". The DAQ card port named as 'Silicon Labs CP210x USB to UART Bridge' will be visible in the ports section if the DAQ card has been recognized by the operating system. The COM port to which the device is connected will be enclosed in parantheses. If it is (COM1) it can be retained. If the device is connected to any port other than COM1, right click on the device name and select 'Properties' from the menu.
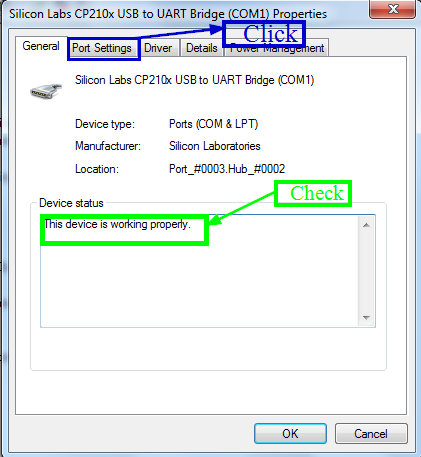
The 'General' tab gives you the description of the DAQ card device and also the Device Status which can be referred to determine whether the device is working properly or not. Make sure the device is working properly. Click on the 'Port Settings' tab in the 'Silicon Labs CP210x USB to UART Bridge' properties dialog box that appears.
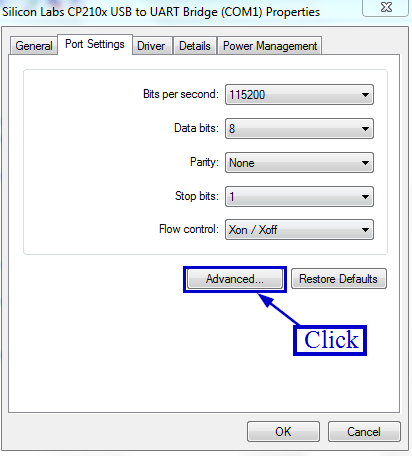
Click on the 'Advanced' button in the Port Settings tab.
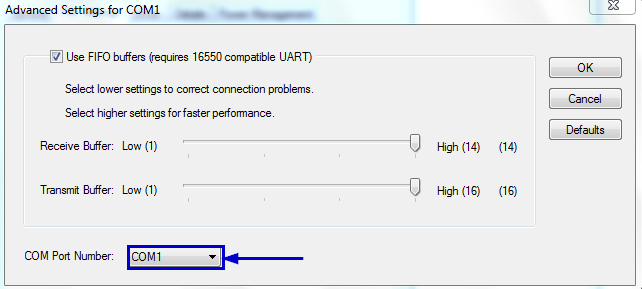
In the 'Advanced Settings' dialog box select 'COM1' from the drop-down menu next to the "COM Port Number:" option. Even if "COM1" is in use select the port.
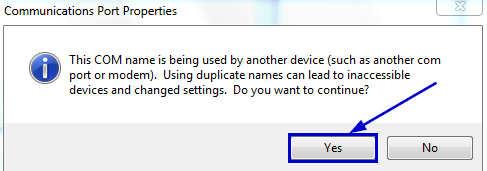
Click on 'Yes' to the prompt that asks you whether you are sure you want to change the port to COM1.