
Troubleshooting
This section will discuss possible errors or problems that might come up and how to fix them. These can occur during certain scans or random bugs. A print friendly version of this page is available here Troubleshooting.pdf.CROP Software Freezes
In version 5.0 there is an “Abort” button at the bottom left hand side of the program. This a kill button if anything happens to freeze. If more problems occur, such as it won’t unfreeze or the program won’t close at all, use “control alt delete”, click “start task manager”, select the CROP program under the application tab and then click “end process”.Top
Error 7 (File Not Found)
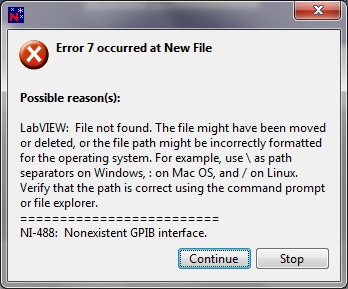
Top
Error -1073807343 (Device Not Present)
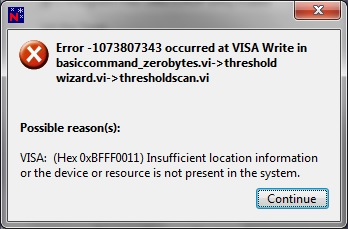
- Click on the “Start” (for Windows 7 it is a windows icon), this is usually located on the bottom left hand side of the screen.
- Click on “Control Panel”.
- The next few steps are where XP and Windows 7 are different. For Windows 7, click on “Hardware and Sound” and then “Devices and Printers”. The DAQ card should be in the unspecified category named Silicon Labs CP210X USB to UART Bridge. It will also display the current COM#. For Windows XP, click on “System” and click on the “Hardware” tab. Click on “Device Manager” and locate and click the category “Ports”. Once clicked, the DAQ card will be displayed with the same name above and the current COM#.
- Right click on the name of the card and select “Properties”. Next click on the “Hardware” tab and select “Properties” at the bottom of the window.
- For Windows 7, click on the “Change settings” at the bottom of the “General” tab. Click on “Port Settings” and then “Advanced”. Once this is selected, Find “Com Port Number” and selected COM1. For Windows XP, do all the previous steps above other than “Change settings”. If COM1 is in use, find the location of the device that is using COM1 and change it to another COM by a similar method above.
- When the COM# is turned to 1, click on Ok until all the windows are closed.